PELICAN
TM
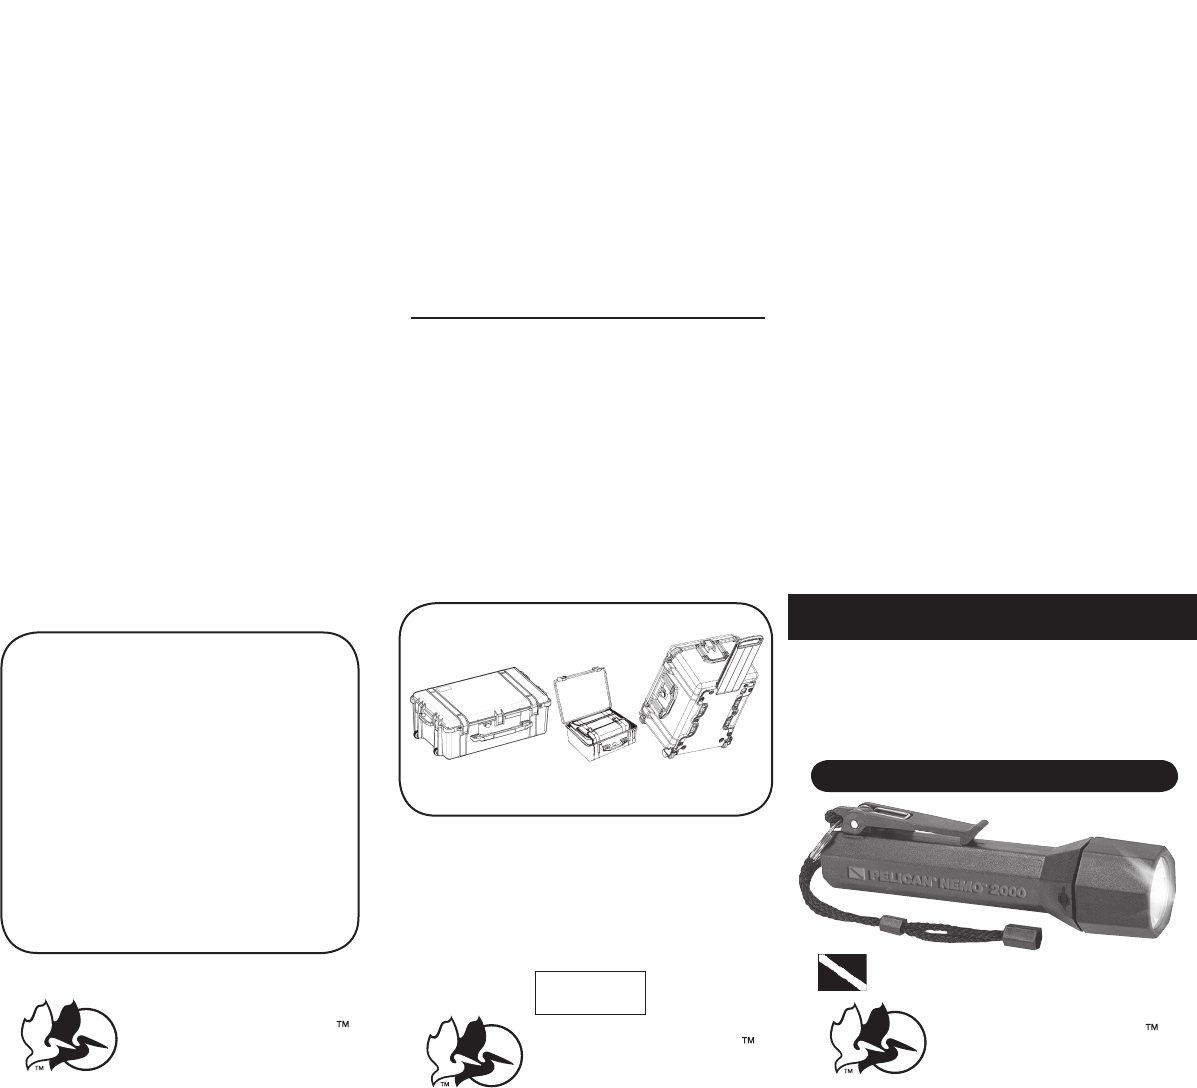
NEMO
TM
2000
OPERATING INSTRUCTIONS
CATALOG #2000N
23215 Early Ave. • Torrance, CA 90505
(310) 326-4700 • FAX (310) 326-3311
www.pelican.com
Pelican Unconditional Lifetime
Guarantee of Excellence
If for any reason you are not satisfied with the qual-
ity or performance of any PELICAN product, we will
gladly replace the product or refund your money (at your
option) within 30 days of purchase through the original
retailer/dealer. PELICAN PRODUCTS will continue to
guarantee the product directly for a lifetime against
breakage or defects in workmanship. Lifetime guarantee
does not cover the lamp or batteries. The o-rings must
be kept greased (and replaced if damaged) per product
instructions. This guarantee is void only if the PELICAN
product has been abused beyond normal and sensible
wear and tear.
THE ABOVE GUARANTEE DOES NOT COVER
SHARKBITE, BEAR ATTACK OR CHILDREN UNDER 5.
WARRANTY RETURN POLICY
Send all items for repair or replacement directly to Pelican Products
Customer Service Department (Postage Paid). Please call for
authorization number.
Per our guarantee, Pelican Products will replace or repair any
broken or defective products. Upon receipt of goods, Pelican
Products will notify you of any handling and return postage charges.
2003-312-000 © 2007 Pelican Products OC/07
All trademarks and logos displayed herein are registered and
unregistered trademarks of Pelican Products, Inc. and others.
NEMO
TM
2000
OPERATING INSTRUCTIONS CATALOG #2000N
BATTERY INSTALLATION
1. Remove lens housing by turning counter-clockwise.
2. Remove the lamp module.
3. Remove the battery tray.
4. Remove used batteries and replace with fresh
batteries in the tray as shown by the polarity
icons molded into the base of the tray battery.
5. Insert the battery tray into the flashlight with the
two metal tabs facing outwards.
6. Replace the lamp module.
7.
Replace lens housing squarely on threads and turn
clockwise while pressing on the lens housing slightly.
ON/OFF
Turn the lens housing clockwise until light activates.
To turn light off, back lens housing off counter-clockwise
until light goes off. Continue to back off for approxi-
mately 1 full turn to eliminate possibility of light acti-
vating accidentally in storage. DO NOT OVERTIGHTEN.
LAMP REPLACEMENT
To replace the lamp module follow steps in the
battery installation section as listed below:
To remove lamp module follow steps #1 and #2.
To replace lamp module follow steps #6 and #7.
SCUBA DIVING APPLICATION
(Follow these instructions whenever you replace the batteries)
Check closely for cuts, scratches, or otherwise
damaged o-ring or mating lens lip surface as
this can cause your light to flood instantly under
pressure. Remove any salt deposits, sand, dirt,
and foreign matter from O-ring sealing surfaces.
KEEP THREADS, O-RING GROOVE AND INSIDE LIP
OF LENS LUBRICATED WITH SILICONE GREASE.
CAUTION:
If light is not to be used for some time, remove batteries
to prevent possible LEAKAGE AND CORROSION.
PRODUCT SPECIFICATIONS
Lamp Type: Xenon
Battery Burn Time: 4-5 hours
Battery Type: E93 1.5V Alkaline C-cell (3)
REPLACEMENT PARTS
2001 O-ring 2004 Lamp Module
If your local retailer does not stock the above accessory
parts, you may order them directly from Pelican Products.
Send check or money order in U.S. dollars, or order by
phone using MasterCard or VISA (ask for Customer
Service). SORRY, NO C.O.D.’s. California residents add
8
1
/4% sales tax. Allow 2-3 weeks delivery time. Pelican
Products pays postage and handling charges.
POSTAGE PAID FOR U.S. ZIP CODE AREAS ONLY.
CAUTION: Read This Notice Before Use.
Hydrogen Gas Absorber Pellets Located inside the flashlight are
catalyst pellets which are present to absorb hydrogen gas that could
possibly be emitted by defective, leaking, reversed polarity or heavily
discharged batteries. If the pellets become wet, let them air dry.
Pelican Products assumes no liability for any brand batteries which
are defective or cause injury to anyone when used in any Pelican
flashlight.
Battery Replacement
Do not mix battery brands or use Nicad or Zinc Carbon Batteries.
Do not mix old and new batteries. Replace all batteries at the
same time.
Lamp Replacement
Lamp replacement may only be performed
in a non-hazardous area.
DO NOT MODIFY THIS PRODUCT!
MANUFACTURERS OF THE WORLD’S
TOUGHEST, WATERTIGHT PROTECTOR CASES
NEMO
TM
2000
INSTRUCCIONES DE FUNCIONAMIENTO #CAT. 2000N
INSTALACIÓN DE LAS PILAS
1. Retire el bastidor de la lente girándolo en sentido contrario
a las agujas del reloj.
2. Retire el módulo de la bombilla.
3. Retire la bandeja de pilas.
4. Retire las pilas usadas y coloque las pilas nuevas en la
bandeja teniendo en cuenta la polaridad como se muestra
en la ilustración impresa en la base de la bandeja.
5. Inserte la bandeja de pilas en la linterna con las dos piezas
metálicas apuntando hacia afuera.
6. Vuelva a colocar el módulo de la bombilla.
7. Vuelva a colocar el bastidor de la lente sobre la rosca
y gire en el sentido de las agujas del reloj al mismo
tiempo que ejerce un poco de presión sobre el mismo.
ENCENDIDO / APAGADO
La luz se enciende girando el bastidor de la lente en el sentido
de las agujas del reloj. Para apagarla, gire en sentido opuesto
hasta que se apague la luz. Siga girando aproximadamente una
vuelta completa para eliminar la posibilidad de que la luz se
encienda por error al estar guardada. NO APRIETE DEMASIADO.
REEMPLAZO DE LA BOMBILLA
Para cambiar el módulo de la bombilla, siga los
|pasos especificados para la instalación de las pilas que
aparecen a continuación:
Para retirar el módulo de la bombilla, siga los
pasos No. 1 y 2.
Para cambiar el módulo de la bombilla, siga
los pasos No. 6 y 7.
PELICAN
TM
PRODUCTS
SUBMERSIBLE TO 500 FEET
PELICAN
Y o u break it, we replace it... forever.
23215 Early Ave. • Torrance, CA 90505
(310) 326-4700 • FAX (310) 326-3311 • www.pelican.com
PELICAN
Y o u break it, we replace it... forever.
23215 Early Ave. • Torrance, CA 90505
(310) 326-4700 • FAX (310) 326-3311
www.pelican.com
PELICAN
Y o u break it, we replace it... forever.
Assembled
in the USA


 (2 pages)
 Manymanuals.com
 Manymanuals.de
 Manymanuals.fr
 Manymanuals.it
 Manymanuals.pl
 Manymanuals.cz
 Manymanuals.es
 Manymanuals-pt.com
Commentaires sur ces manuels